Overlay windows & pass through clicks
With a transparent window, it's possible to create an "overlay" for external application window.
Your app window can also become "invisible" to clicks meaning the clicks will pass through to the underlying content beneath.
This is useful for creating floating utility apps, extending the functionality of external applications or creating deep integrations with external applications.
How To:
View this example in the editor:
https://bubble.io/page?id=deskifier-plugin-test&tab=Design&name=overlay-example&type=page
In this example, we're building an overlay window that attaches to the currently focused window, and has draggable floating panels.
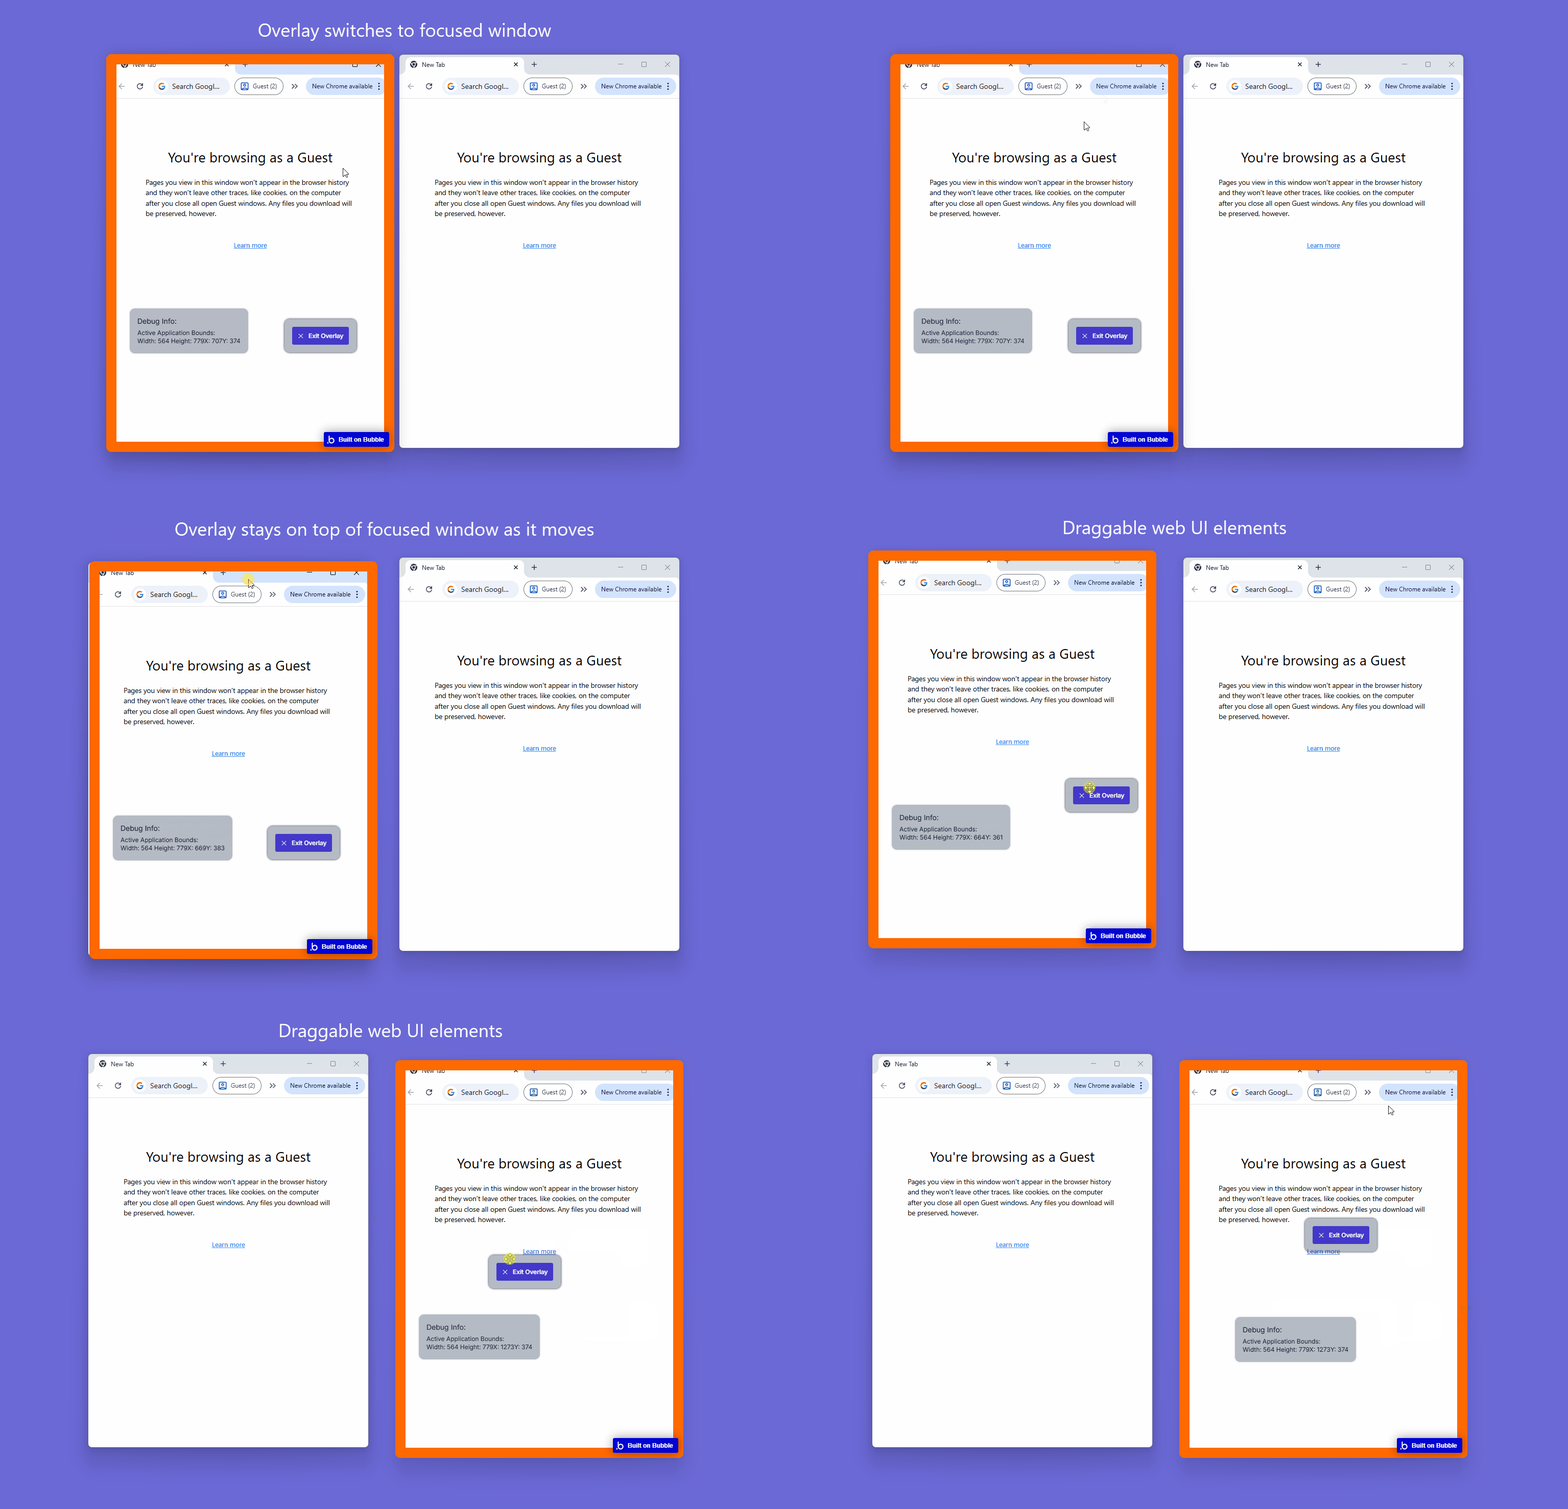
You may be confused at what you're looking at - so let's dive into what this actually is.
This is a web page with a transparent background. The web page is fitting it's size to fit that of the focused window.
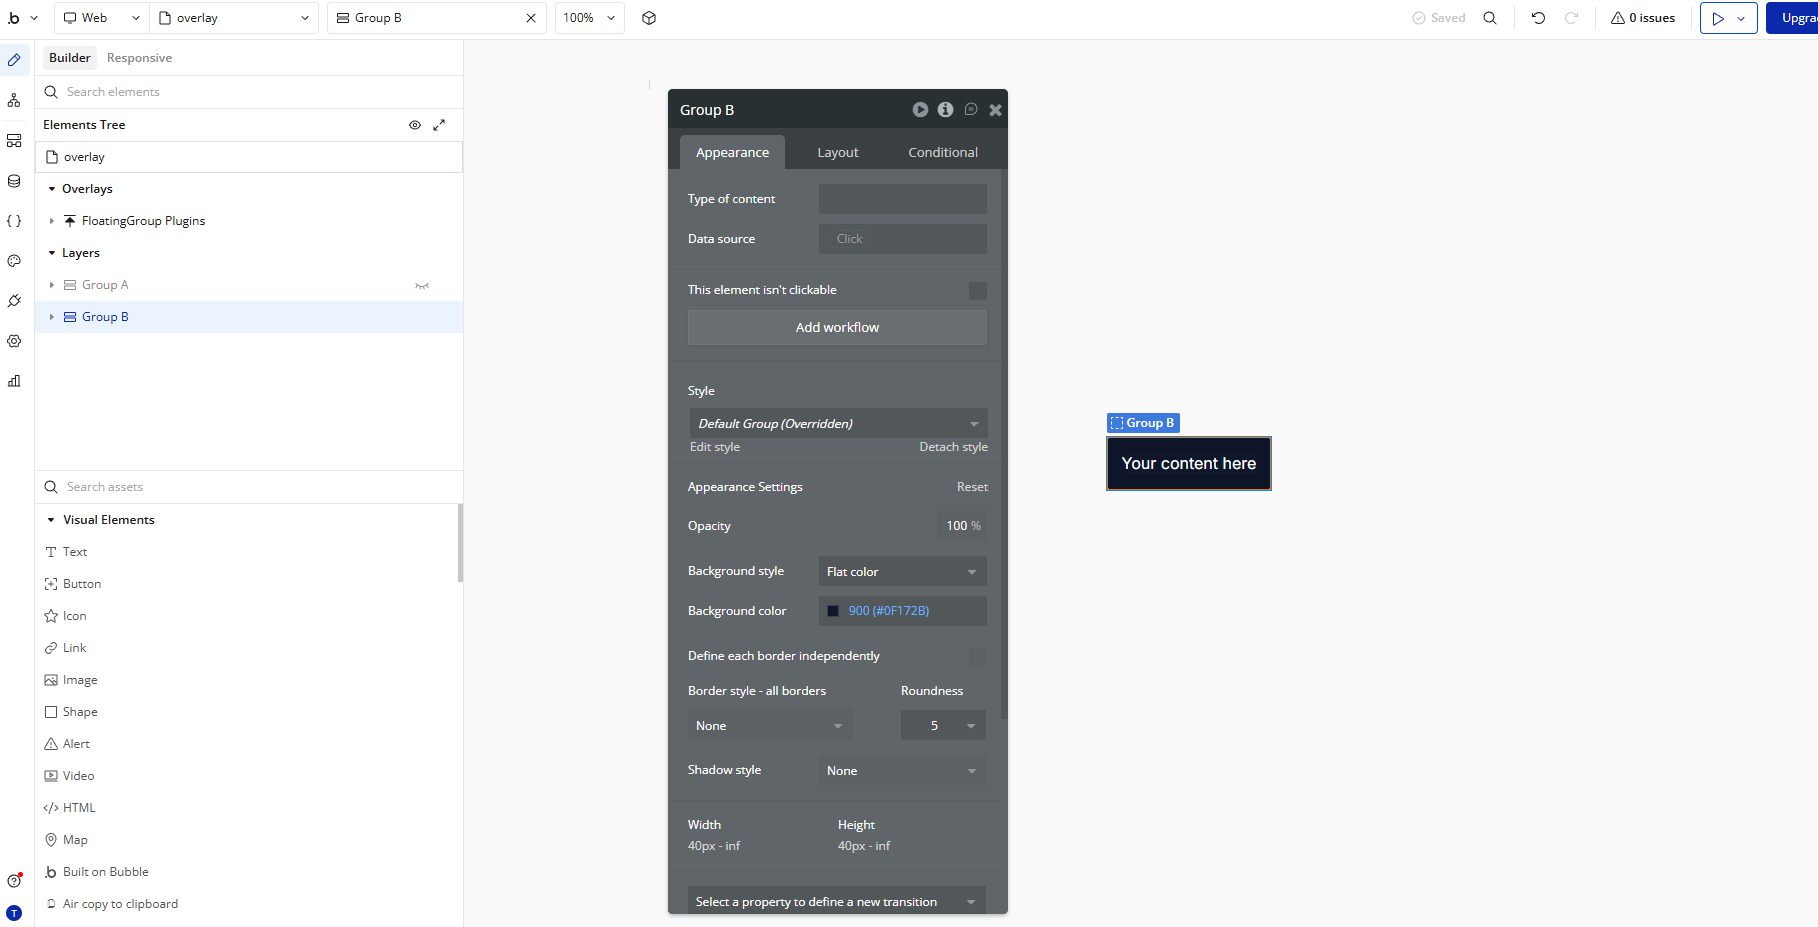
Here's a look at what it looks like inside the Bubble editor.
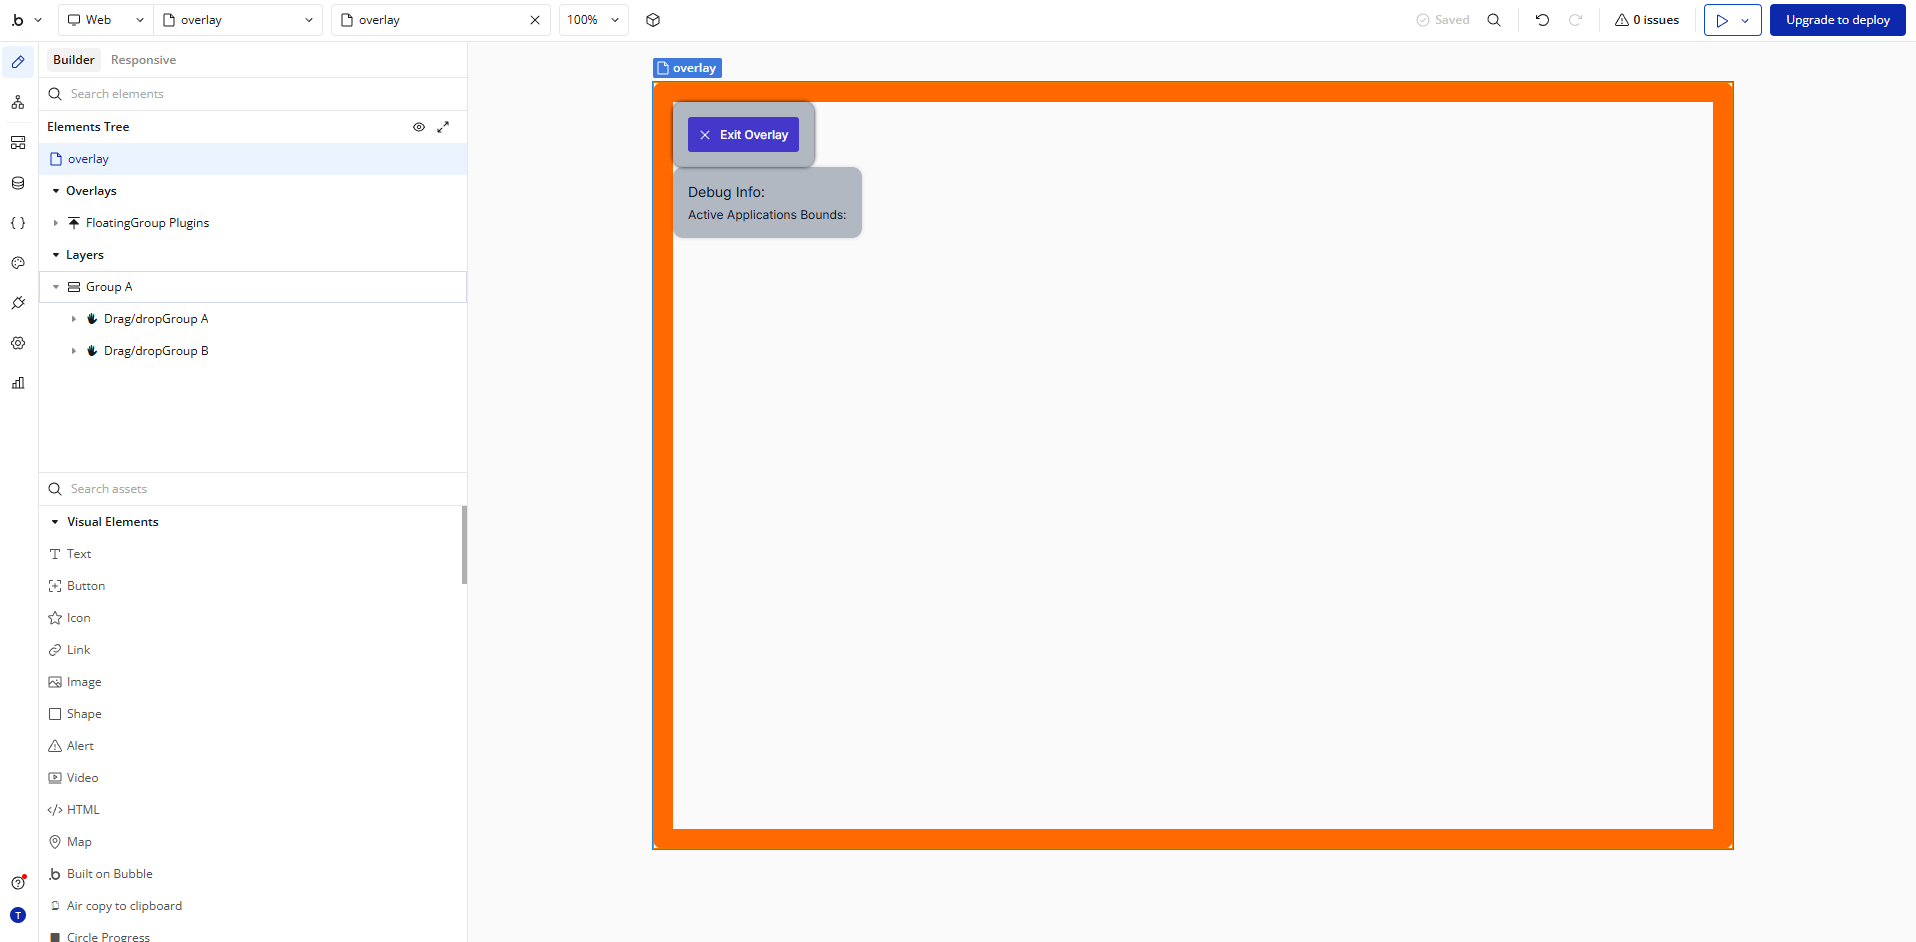
To accomplish this, we need two things
1. Control over our browser window with the Windows Element
2. Information about the external applications running with the Applications Element
Step 1.
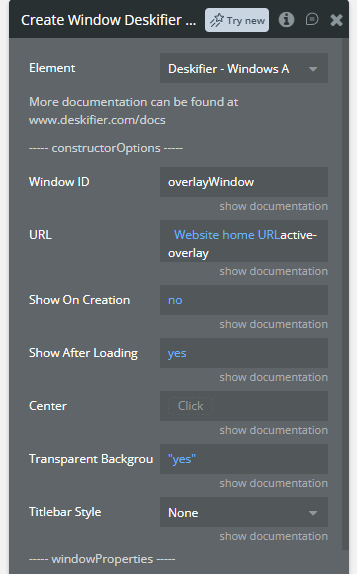
We need to create our Window with the correct settings.
- Set Titlebar Style to None
This makes our new window frameless, and removes the window controls.
- Set Transparent Background to yes
This makes our application background transparent - Note: be sure to set your page to transparent in the Bubble editor as well.
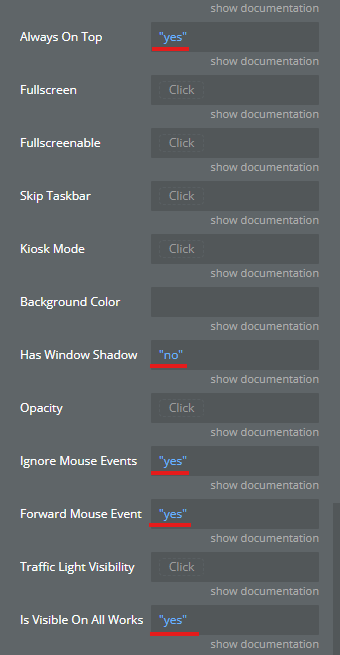
- Set Always On Top to yes
This makes our window stay above others, even when it's not focused.
- Set Has Window Shadow to no
Removes the subtle window shadow.
- Set Ignore Mouse Events to yes
Makes the application not respond to mouse clicks.
- Set Forward Mouse Events to yes
Makes clicks "pass through" the application to whatever is beneath.
- Set Is Visible On All Workspaces to yes
Only needed on macOS. This makes your application visible if the user switches workspaces (ex. If the user goes full screen)
Step 2.
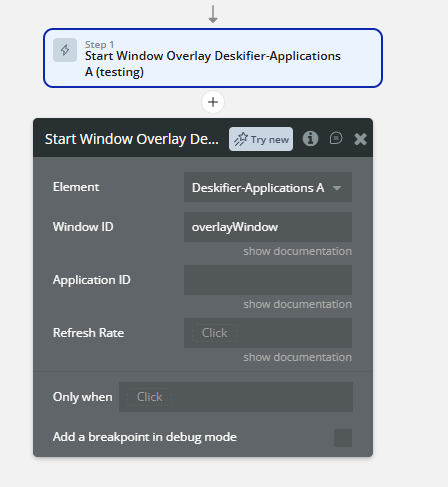
Next we need to specify which application to "track" with the Start Window Overlay action. If no application is specified, it defaults to always tracking the Active Application , meaning the overlay will follow which ever application is currently being focused.
<br>
Step 3.
Next we'll add some simple UI to test with.
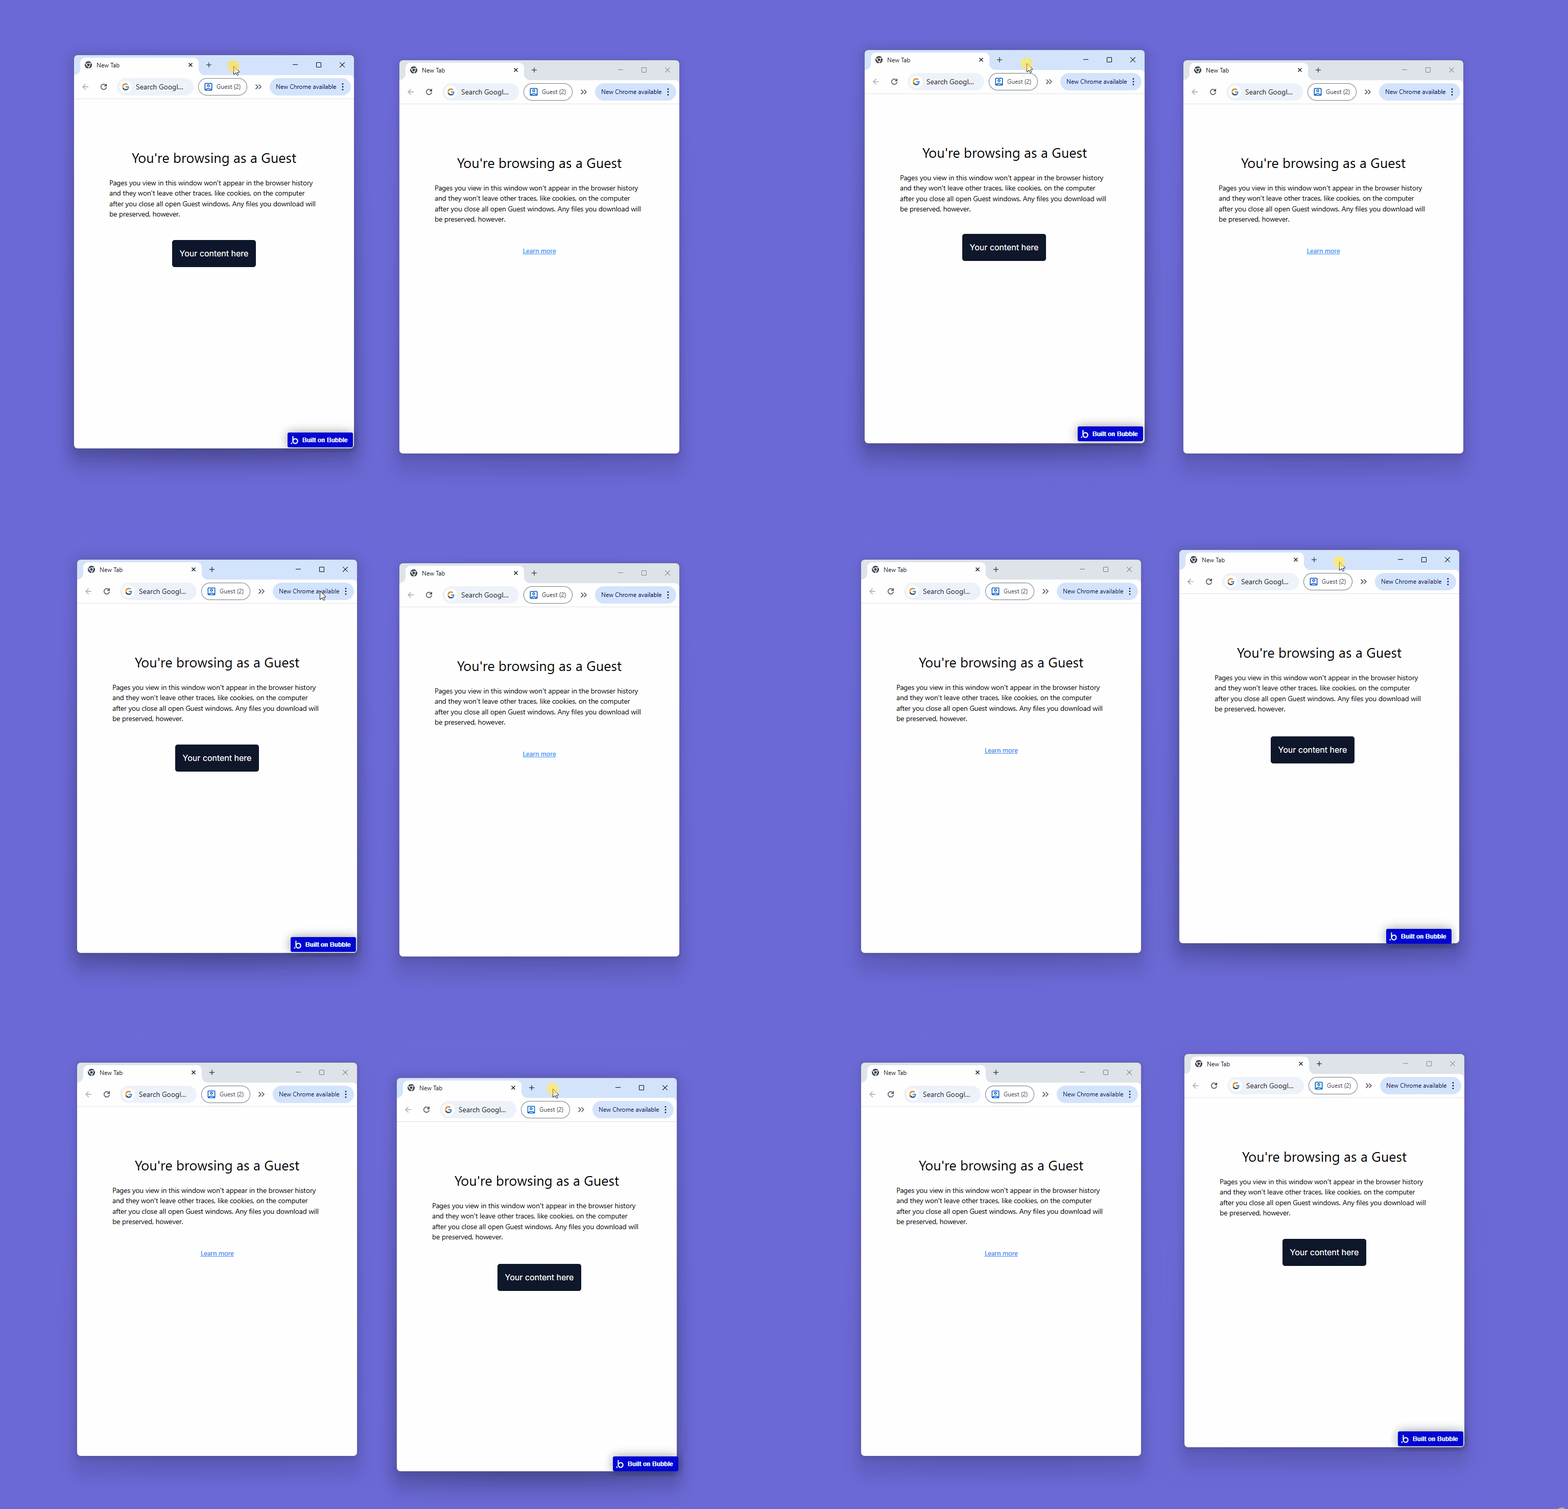
Now we should see our new UI floating over external windows.
Step 4.
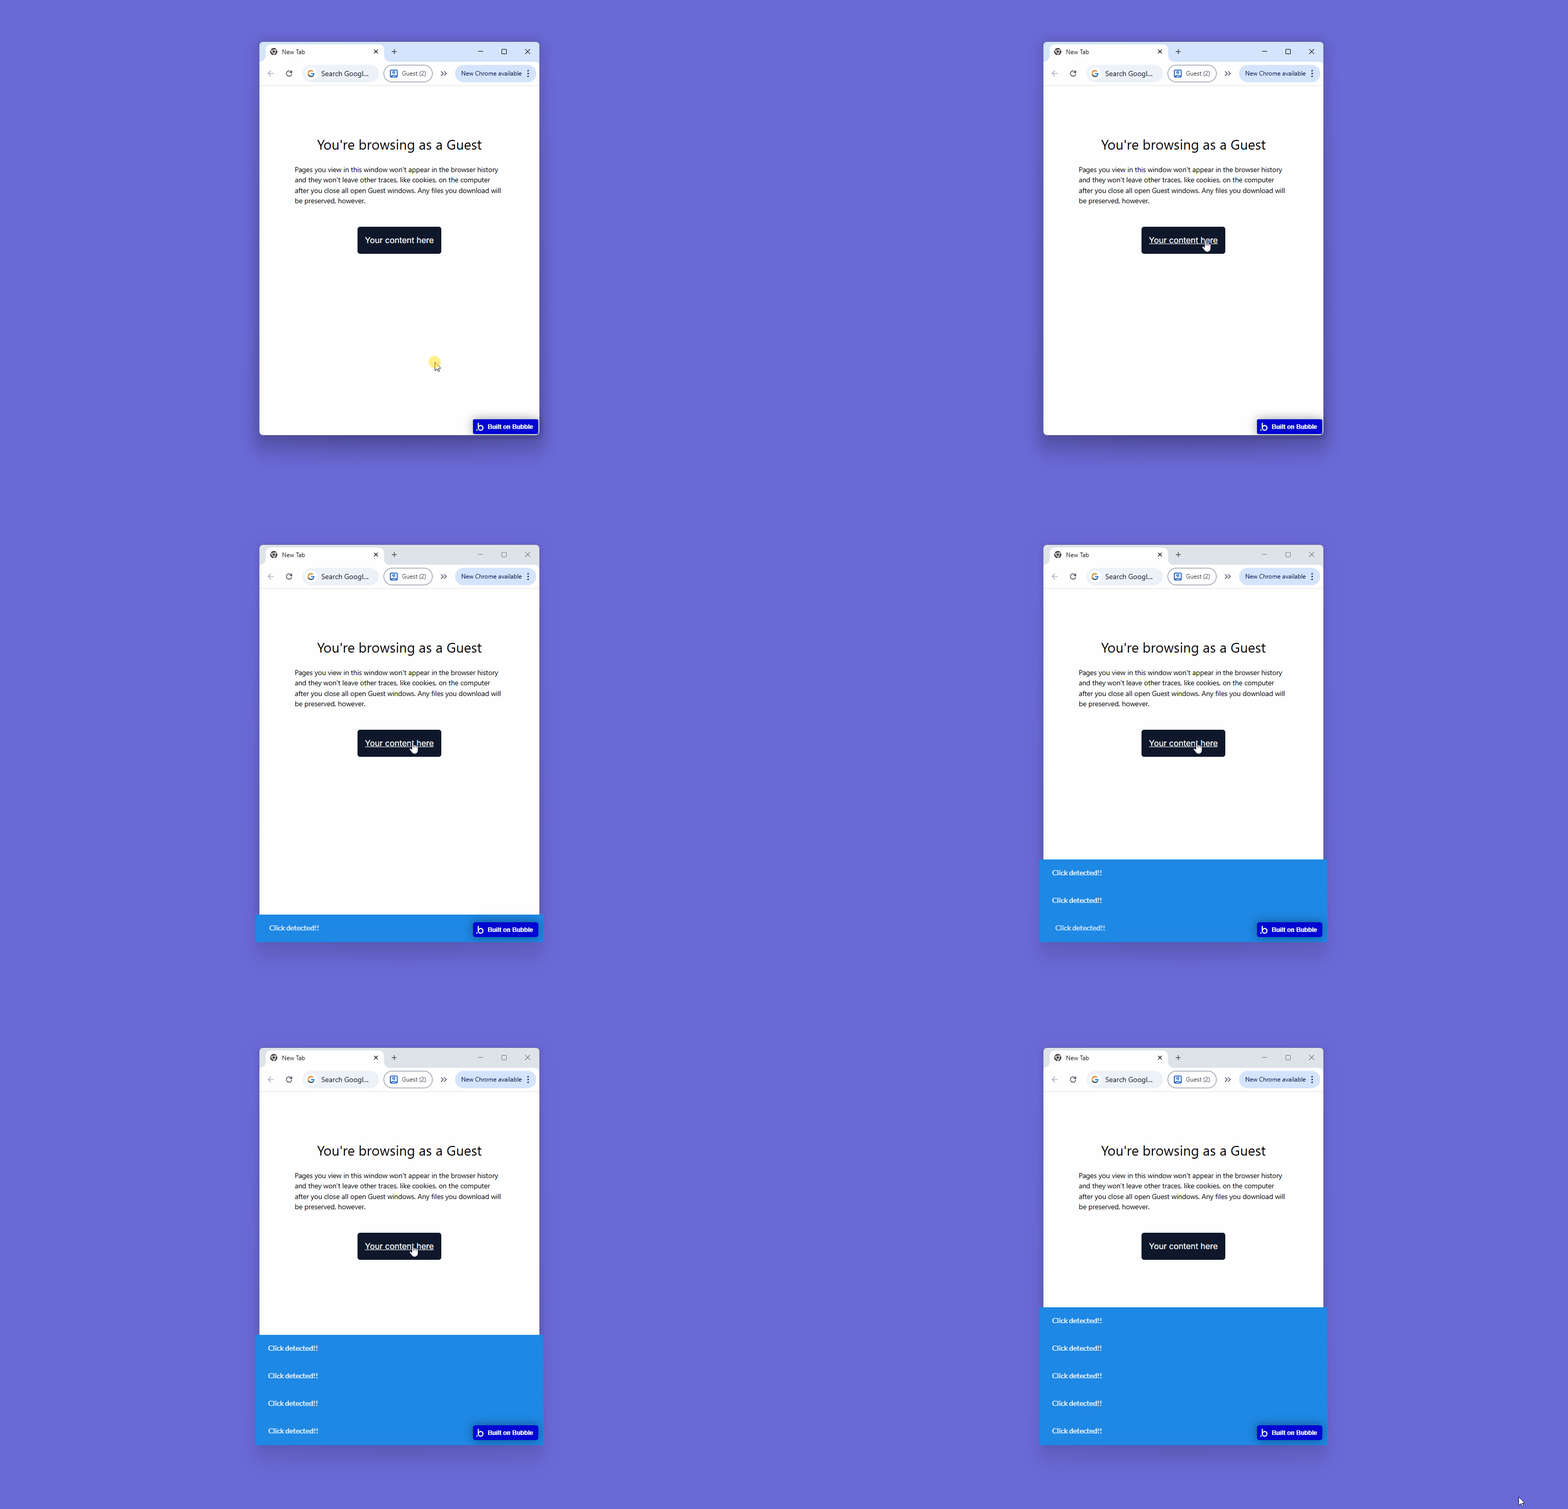
Now we'll work on making the UI clickable. Currently, our app is ignoring all clicks, and clicks will be passed to the underlying content.
You could have a hotkey to make your elements triggered using the Global Shortcuts Element, or in our case, we're going to detect when our UI is hovered.
While clicks are ignored by our application, it still responds to a couple of useful event listeners. The "mouseenter" event will fire when an element is hovered, and the "mouseleave" will fire when the element is no longer hovered.
For demonstration purposes, we'll use this free plugin to apply these event listeners to one of our elements.
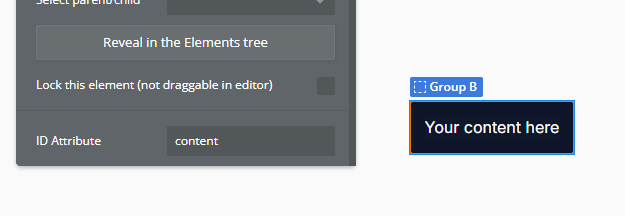
Set the ID Attribute of the element, and add the hoverListener element to the page with the same element_id as the property.
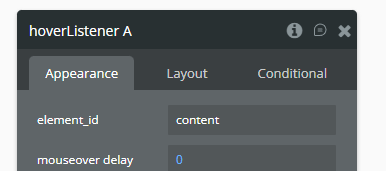 <br>
<br>
Then, set up the "on mouse over" and "on mouse out" events.<br>
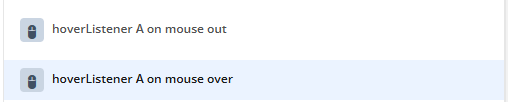
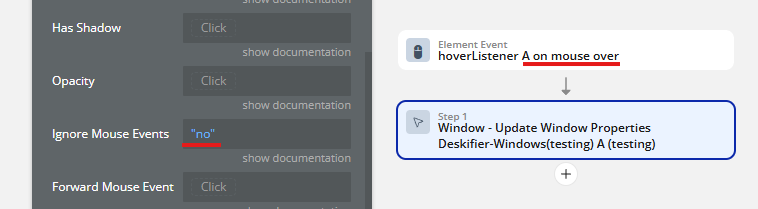
When the element detects a hover event, we'll make our application start responding to clicks by updating the window properties.
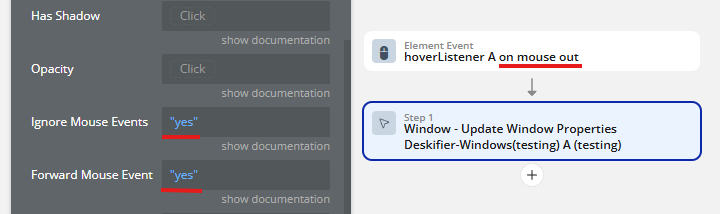
And vice versa when the element is no longer hovered.
And now the final result:
Pro Tip:
Use the Draggable Elements plugin by Bubble to make draggable groups.
Pro Tip:
macOS doesn't always accurately report the active window when the focused application has multiple windows.
Use the Refresh Application List action, and filter by windows with the same processId as the active application to find other windows to attach to.